If you’re anything like me, few things are as enjoyable as listening to your favorite jams or joining a video call without a mess of tangled wires. I’ve always been a fan of Sony headphones for their rich sound and comfortable design. However, if you’ve recently upgraded your PC and are wondering how to connect Sony headphones to Windows 11, you’re not alone! The process can seem confusing at first, but with a few simple steps, you’ll be enjoying seamless wireless audio in no time.
Connecting Sony headphones to Windows 11 isn’t as hard as you may believe. Whether you want to enjoy a more wireless experience or need an easy way to make Zoom meetings sound crystal clear, I got you covered. In this guide, I’ll show you each part of the process and a little troubleshooting to ensure that you never fall behind.
Well, not so fast; how about a way you can get your Sony headphones connected to Windows 11 in the blink of an eye and start using that high-quality sound before you know it?
The Basics of Bluetooth Connectivity
Bluetooth is a technology that most of us use on a daily basis, but how many understand how it works? Whether it’s using wireless headphones for your morning workout, an ergonomic mechanical keyboard at the office or even just picking up like your Amazon Echo from another room. If you want a detailed breakdown of Bluetooth pairing across different Sony models, check out our full Sony Bluetooth connection guide.
So what is Bluetooth, and how does it work?
Fundamentally, Bluetooth is a wireless communication standard that enables devices to transmit data over short distances. It sends wireless signals over the 2.4 GHz frequency band to transfer data between devices – typically at a distance of around 30 feet, but it varies by device and any physical obstructions.
View Details On Amazon

Key Features of Bluetooth:
- Low battery usage: Bluetooth technology does not require a significant amount of power, as a result you can listen to music on your wireless headphones for longer periods without the worry of the battery inflating.
- Short Range: Although not quite as long-ranged Wi-Fi, or cellular-data, Bluetooth is meant for connecting nearby devices to one another perfect for portable electronics like headphones and phones.
- Safe Connections: Bluetooth encrypts the data it communicates with, which means your devices are safe from interference and access to unauthorized users.
When you connect your Sony headphones to your Windows 11 device using Bluetooth, the two devices can pass audio signals between each other without any cables. The pairing procedure is how you do that, and once your headphones and PC are paired, the two devices will look for each other whenever they’re both powered on to make sure that just those two can “talk” to each other and share audio.
What’s Happening Behind the Scenes?
So when you turn on Bluetooth in your PC and headphones, they are basically “looking” for one another. Here’s the magic part: your headphones start broadcasting a signal (in effect saying, “Hey, I’m available to pair now!”) and your PC finds any compatible gadgets in its vicinity. Once your devices recognize each other, a connection is made and you can begin using your headphones wirelessly!
There are a few important things to keep in mind:
- Pairing Mode: The majority of Bluetooth hardware like your Sony headphones, screams to be in something called as “pairing mode” so it can be seen and then used by your PC. In most cases, this is done by pressing the power button or a dedicated pairing button until an LED flashes or you hear a voice prompt that it’s in pairing mode.
- Storage for multiple devices: Some devices, like Sony’s WH-1000XM4 or WH-1000XM5, can hold several pairings. This means your headphones will automatically connect to your PC, phone, or even tablet, without the need to manually reconnect every time.
Yes, Bluetooth has settled down somewhat over the years, but there are still some things you can do to ensure that everything connects without friction particularly when it comes devices running operating systems as new as Windows 11. Bluetooth can be a bit picky at times, especially if there are interference concerns, or if your Bluetooth devices aren’t on the same version of the protocol (more on that later).
But don’t worry, now that you have a basic understanding, pairing your Sony headphones with Windows 11 should be as simple as anything!
How to Pair Sony Headphones: A Step-By-Step Guide
Hooking up your Sony headphones to Windows 11 is an easy process, though if you’ve never done so before, it can seem a little daunting. No need to stress, though – I have you covered with an in-depth, step by step guide that will take you through each and every phase. Whether you are using the widely favored Sony WH-1000XM5 or another model, the experience will be almost the same.
Well, we’ll break it down for you so that you may be wireless-audio-ing away in minutes!
Step 1: Power On Your Sony Headphones and Activate Pairing Mode
The first thing you should do is power on your Sony headphones and put them in pairing mode. This is important because in order to connect, your PC has to know what it’s connecting to. Here’s how to do it:
For Sony WH-1000XM5 / WH-1000XM4:
- Press and hold the power button of your headphones for about 7 seconds.
- A voice prompt will say “Bluetooth pairing” if you’re in pairing mode; alternately, an LED indicator will flash blue and red. That’s your headphones ready to pair.
If you are using a different Sony model:
- The pairing procedure could vary slightly.
- For example, on some models you may need to press and hold the power button for 5 seconds or until you hear a different prompt such as “Power on” followed by “Pairing.”
Your headphones are now in pairing mode, and are ready to connect to your computer.
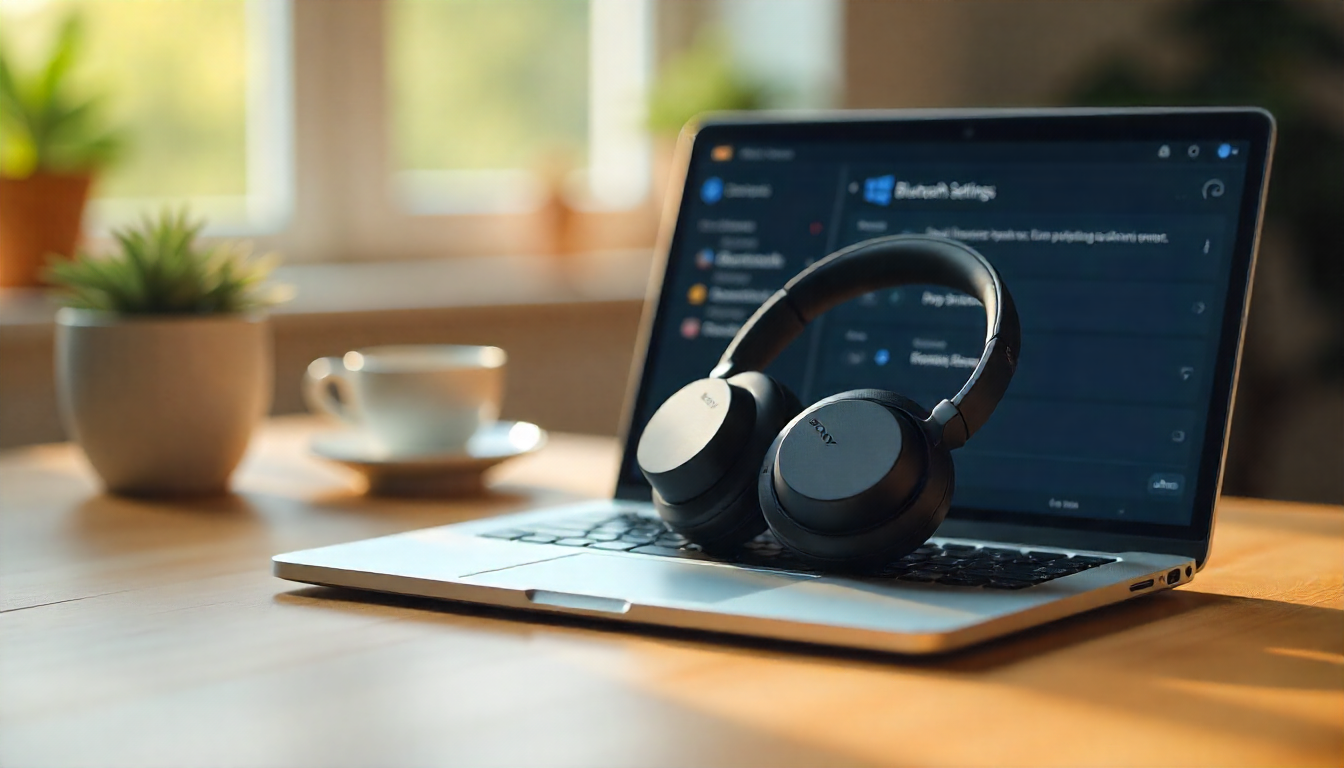
Step 2: Access Bluetooth Settings on Windows 11
It is time to launch the Bluetooth settings on your Windows 11 PC. Here’s how to do it:
Step 1: Click on the Start Menu Get it started by clicking on that familiar button in the bottom left-hand side of your screen.
Choose Settings: When the Start menu pops up, find the gear icon on the left side and click it to launch a new Settings window.
Click to Bluetooth & Devices: On the left-column of the Settings window, you will find a segment that says Bluetooth & devices. Tap to open Bluetooth settings.
Turn on Bluetooth: If Bluetooth is already ready to turn on, just tap it and switch the toggle to the On position. You’ll receive a confirmation message that Bluetooth is now enabled on your PC.
At this point, your PC is ready to find nearby Bluetooth devices, such as your Sony headphones.
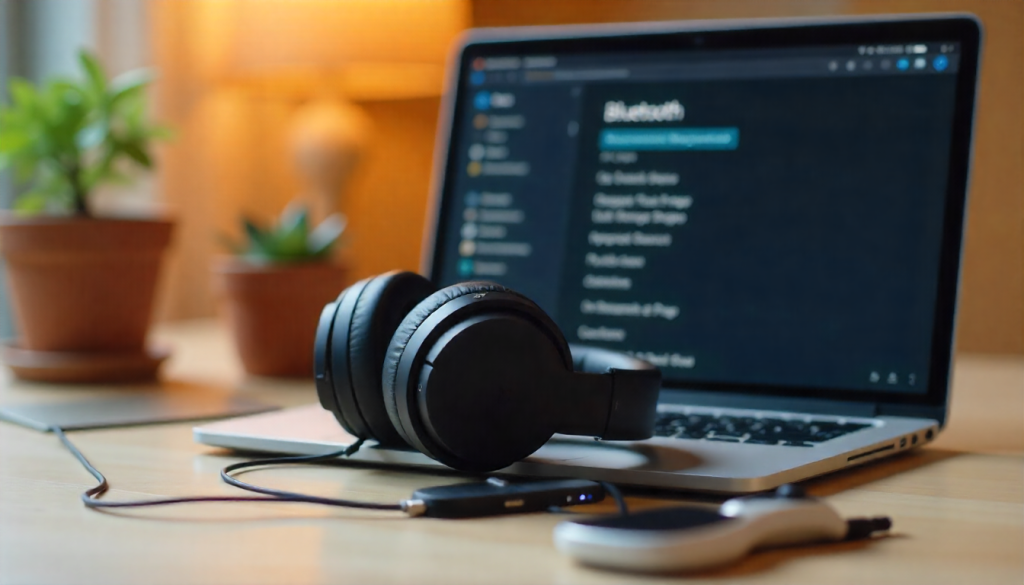
Step 3 Pairing Process Initiation
Having set up both your headset and PC, you’re now ready to begin pairing. Use following steps to create the connection:
- Click Add Device: On the Bluetooth & other devices section, you will be given an option to Add device. Press it to search for Bluetooth devices that can be connected.
- Choose Bluetooth: You’ll be presented with a pop-up window prompting you to select what type of device you’d like to add. Click or tap on Bluetooth to search for the nearby Bluetooth devices, one will be your Sony headphones.
- Wait for Your Sony Headphones to Appear: Your PC will start searching for devices within range. After a few seconds, your Sony headphones will appear in the list of available devices. Find the name of your headphones, for example, WH-1000XM5 or WH-1000XM4, and select it.
- Click Connect: After clicking on your headphones’ name, your PC will attempt to connect. You will encounter a Connecting message for a few seconds. If your connection is successful, you should see a status of Connected next to the name of your headphones.
Step 4: Confirm the Connection
Once you click Connect, a voice prompt will come directly from your Sony headphones to let you know that the connection was successful. It might say something like “Connected” or “Bluetooth connected.” You should now be able to hear sound through your headphones, such as music, a video, or a Zoom call.
You can test to make sure the link is steady by playing music, a video or audio clip on your PC. If the audio is heard clearly in the headphones, there is a successful pairing. Congratulations! You have successfully connected your Sony headphones to a Windows 11 machine.
Step 5: Adjust Sound (Optional)
With your headphones now connected, you’ll want to fine-tune the sound for a more optimised quality. Here’s how you can do that:
Right Click the Sound Icon: In the bottom right corner of the screen, you will see a sound icon.
Choose Sound Settings: Press to choose Open Sound settings in the pop-up menu.
AUSWÄHL DEINES AUSGABEGERÄTES: Stelle sicher, daß derKopfhörer Sony als Standartausgabegerät gewählt worden ist. This will make sure any PC sounds you have will go to your headphones.
The volume can also be adjusted and you can add preferences for audio quality. Some models, such as the WH-1000XM5, provide customizable settings like noise-cancellation levels that you can adjust based on your surroundings.
Step 6: Troubleshooting (If Necessary)
You can also refer to our detailed Sony Bluetooth troubleshooting article for fixing connection or pairing issues. This is a common problem, and there are a few workarounds you can try:
- Make Sure Bluetooth Is Turned On: Verify that Bluetooth is turned on for your headphones and your PC.
- Restart Devices: In some cases, you might just need to restart both your PC and your headphones to clear up any minor connection hiccups.
- Update Drivers: Sometimes your Bluetooth drivers can become obsolete leading to issues connecting. Good luck with the Bluetooth driver update in Device Manager (right-click your Start button) and seeing if there’s an available update under Bluetooth.
- Reset Headphones: If none of these things work, you may have to reset your headphones. This typically entails holding down the power button and volume down key for 10 seconds (At least some models do). Refer to this manual for additional details, if so.
Step 7: Now, That’s What We Call Wireless Audio!
That’s it! With everything set up and working, you can now enjoy the freedom of wireless audio. Whether it’s music, a video call, or keeping up with your favorite podcast, you can now seamlessly connect your Sony headphones with your Windows 11 PC.
My favorite troubleshooting tips if something goes wrong:
Ensure That Bluetooth Is Actually Enabled
It may seem like a no-brainer, but the first step is to make sure Bluetooth is turned on:
- Visit Settings > Bluetooth & devices.
- Make sure the toggle switch next to Bluetooth is turned on.
Not seeing the toggle at all may indicate that your PC lacks Bluetooth capabilities or that a driver hasn’t been installed correctly. If so:
- Go to Device Manager > Bluetooth and look for the Bluetooth adapter.
Restart Both Devices
Sometimes the simplest solution is also the best.
- Try to reset your Sony headphones by turning them off and on.
- Now, reboot your Windows 11 computer.
This will refresh the system and typically corrects any minor connection issues.
Remove Old Pairings
If Sony headphones are connected to more than one device, they can tend to get confused. The bottom line: If you’re still connected to your phone or tablet, your PC can’t connect.
Unplug the headphone from all other devices.
- On your Windows 11 PC, select Bluetooth & devices, click on your Sony headphones in the list and then choose Remove device.
- Toggle your headphones back into pairing mode, and reconnect.
Reset Your Sony Headphones
If Bluetooth pairing fails, you can try resetting your headphones. The steps might be different for your particular model, but on a majority of Sony headphones (WH-1000XM4 or XM5) they are:
- Press and hold the power button and the customizable button (or noise-canceling button) at the same time for 7 -10 seconds.
- The LED indicator will flash blue, indicating that you have reset the TrueConnect.
This is going to remove all previous pairings and you will have a clean start.
Update Bluetooth Drivers in Windows 11
Bad and Outdated Drivers It is one of the most common issues related to pairing problems. To update them:
- Right-click the Start button and choose Device Manager.
- Expand Bluetooth.
- Right-click your Bluetooth adapter (e.g., “Intel Wireless Bluetooth”) and select Update driver.
- Select Search automatically for drivers.
If Windows doesn’t find an update, you can also check your PC manufacturer’s website for the latest drivers.
Check for Windows 11 Updates
Occasionally, the issue isn’t with your headphones, but is actually a software problem. Microsoft also often issues patches that resolve Bluetooth crashes.
- Head to Settings > Windows Update.
- Click on Check for updates, and if there are any, install them.
Switch Bluetooth Audio Profiles
Sony headphones typically have 2 BT audio profiles:
- Check that the stereo (A2DP) profile, for high quality audio (music and videos), is enabled.
- Hands-Free (HFP/HSP) speaking and microphone use (this is lower sound quality).
If your audio is bad or not working:
- Right click on the speaker icon in your taskbar > Sound settings.
- In Output, ensure that you’re using Stereo for the best audio.
Move Closer to Your PC
Bluetooth shines within a 30-foot (10-meter) radius, but walls, furniture and other devices (think Wi-Fi routers) can get in the way. Jit is down close to your PC and take out everything between your headphones and the computer.
Uninstall and Reinstall Bluetooth Device
Reinstall the Bluetooth adapter If none of the above options have worked, you will need to reinstall your Bluetooth adapter:
- Open Device Manager.
- Right click your adapter and select Expand Bluetooth.
- Select Uninstall device.
- Then, restart your PC and Windows will reinstall the driver automatically.
Check Sony’s Support Resources
If you’re continuing to have trouble, Sony offers in-depth troubleshooting instructions for each of the headphone models on its support site.
- You can also reach out to their customer service for personalized assistance.
Check Latest Price
Bonus: How to Pair Sony Headphones With Mac, Too!
If you’re on a Mac, the good news is that connecting Sony headphones to your macOS device tends to be a pretty seamless experience. Though the steps might look a little different from those on Windows 11 here, the logic is similar: Put your headphones into pairing mode, host Bluetooth on your Mac and connect. Let’s walk through it step by step to make sure you get it right the first time.
Step 1: Make Your Sony Headphones Discoverable
First, put on your Sony headphones and set them into pairing mode.
Before we get going, go ahead and get your headphones in pairing mode:
Press and hold the power button for about 7 seconds (on models like the WH-1000XM4 or XM5) until an LED blinks red and blue.
You might also get a voice message saying “Bluetooth pairing”.
If your headphones are already connected to another device, such as your iPhone, those initially have to be taken out of the equation so that there is no interference.
Step 2: Turn on Bluetooth on Your Mac
And now it’s time to set up your Mac:
Click on the Apple menu in the top left corner.
Choose System Settings (or System Preferences, if you’re using macOS Monterey or earlier).
Navigate to Bluetooth.
Ensure that Bluetooth is On. If it isn’t, turn it on before proceeding.
Step 3: Connect Your Headphones to macOS
Your Sony headphones should now show up in your Mac’s list of available Bluetooth devices after you’ve put them into pairing mode:
Find your Sony headphones in the list of Bluetooth devices (they may be called something like “WH-1000XM5” or “WF-1000XM4”) and select them.
Next to your device’s name, click Connect.
Your headphones will emit a confirmation tone after several seconds.
Tip: If your headphones don’t show up right away, toggle Bluetooth off and back on again on your Mac, or reset your headphones into pairing mode.
Step 4: Choose Headphones as the Sound Output
Even after you’ve paired, your Mac may keep using the internal speakers until you go to sound and manually select them as the output:
Open the Control Center (in the top menu bar icon).
Click on Sound.
Select your Sony headphones from the list of output devices.
Alternatively, you can go to:
System Settings > Sound > Output and manually change it to Headphones.
Step 5: Test the Connection
Play a song or YouTube video or open Spotify to make sure you can hear sound in your headphones. If you also want to use the built-in mic (for calls or Zoom meetings, let’s say), test it out by going to System Settings > Sound > Input and making sure that your Sony headphones are listed as the input device.
Troubleshooting Sony Headphones on Mac
Once in a while, macOS acts finicky about Bluetooth connections. Here are fixes if things don’t go smoothly:
Remove and Re-Pair
Select the small “i” by your headphones in Bluetooth settings, and then pick Forget This Device.
Re-pair your headphones and re-connect.
Check Audio Profile
Sony headphones seem to have two profiles, AAC/Stereo (great music) and HFP (calls with mic).
If the sound quality is poor, your Mac may have switched to the call profile. For now, manually select the Stereo/AAC option in your sound output settings.
Reset Your Sony Headphones
If your Mac isn’t picking them up at all, you’ll need to reset your headphones. Hold the power button + noise canceling button (or custom button) approximately 7-10 seconds until led flashes.
Update macOS
System updates sometimes remedy Bluetooth bugs. Navigate to System Settings > General > Software Update and update to the newest version.
Reduce Interference
Wi-Fi routers, other Bluetooth devices and even microwaves can cause interference with Bluetooth. If you find that your connection keeps cutting out, bring the device closer to your Mac and keep other devices at a distance.
Frequently Asked Questions
1. How can I get the pairing mode of my Sony headphones?
Hold the power button for 7 seconds until you hear “Bluetooth pairing” or the LED flashes red and blue.
2. How come my computer can’t detect my Sony headphones?
Enable Bluetooth, power-cycle both of gear, and be certain the headphones aren’t already paired to another device.
3. How do I change my headphones to stereo?
Right-click the sound icon in the taskbar, click Sound settings, then under Output > Choose your output device or set up digital audio below select your headphones for stereo output.
4. How do I report if the sound is low or distorted?
Set your sound setting on your PC to a “Stereo” (Stereo) Bluetooth profile, and you can enjoy better sound quality.
5. How can you reset Sony headphones?
Press and hold the power and custom button (or noise-canceling button) simultaneously for 7–10 seconds until the indicator (blue) flashes.
Conclusion
You don’t have to jump through hoops to get your Sony headphones working on Windows 11 or even on a Mac. Just put your headphones into pairing mode, turn on Bluetooth on your device, and select them as your output. In just a few seconds, you’ll be ready to enjoy your tunes. If any issues arise, a few minutes of troubleshooting, such as disconnecting and repairing your headphones, updating your Bluetooth drivers, or removing old pairings, usually resolves the problem quickly.
When you’re working, gaming, or relaxing to your own tunes, the right Bluetooth connection makes a big difference. For more headphone setup guides and expert recommendations, explore our top bass headphones and best headphones for music quality. you’re always going to be ready to enjoy your Sony headphones without any headaches.
Buy Now On Amazon