How to Connect Switch Pro Controller to PC: Easy Setup Explained
How to connect switch pro controller to pc? Do you have a Switch Pro Controller? Do you want to install it on your computer? You can. It’s easy. In this guide you are about to read, we will show you a method on how to connect Switch Pro Controller to your PC. Follow the steps below.
Benefits of Using a Switch Pro Controller on PC
We really like the Switch Pro Controller. It feels good in your hands. It is an awesome option for all-night gaming. Many people like it. You can use it on your PC. Most of its games actually work quite well. No reason to purchase another controller.

What You Need
Before you begin, ensure that you have these items:
- A Switch Pro Controller
- A USB-C cable
- Bluetooth dongle (if your PC doesn’t have Bluetooth)
- A Windows PC
Connecting with a USB-C Cable
This is the easiest way. Use a USB-C cable. Follow these steps:
- Turn on your PC.
- Connect the controller with your USB-C cable.
- Put the other end into your PC.
- Windows will detect the controller. It may install drivers. Wait for it to finish.
- Open a game. Check if the controller works.
If your controller is working, you are now good to go. If not, try the next method.
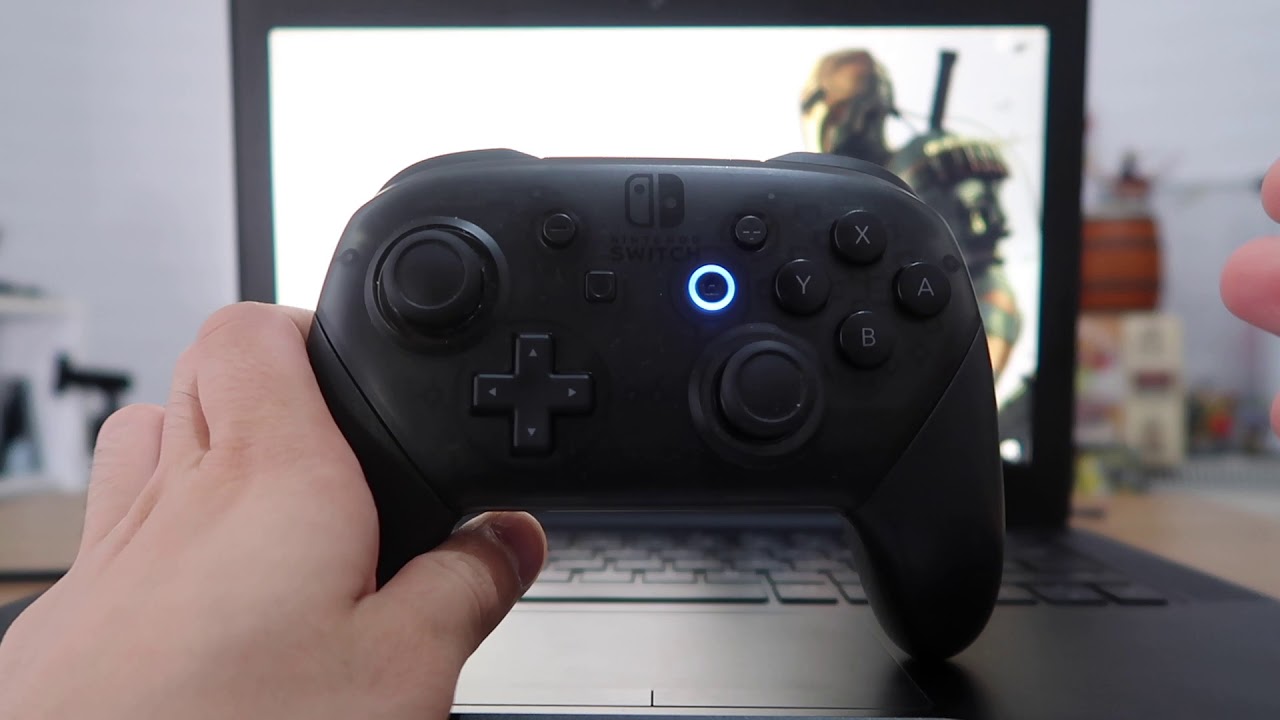
Connecting with Bluetooth
This method is wireless. You need Bluetooth. Follow these steps:
- Turn on your PC.
- Make sure Bluetooth is on. Go to Settings. Click on Devices. Tap or click Bluetooth & other devices.
- Hold down the sync button on your controller. It’s on the top, near the USB port. The lights will start flashing.
- On your PC, select Add Bluetooth or other device.
- Click Bluetooth. Your PC will be looking for devices.
- Choose Pro Controller from the available options. Follow the onscreen instructions to pair the controller.
- Open a game. Check if the controller works.
If the controller functions, you are finished. If not, try the next method.

Using Steam
Steam is a leading Arcade Game platform. And it’s compatible with the Switch Pro Controller. Follow these steps:
- Open Steam on your PC.
- Click Steam located in the top left corner.
- Click on Settings.
- Click on Controller.
- Click on General Controller Settings.
- Enable Switch Pro Configuration Support, by ticking the check mark.
- Connect your controller. Connect via USB-C or with Bluetooth.
- Steam will detect the controller. Just follow the setup prompts.
- Open a game. Check if the controller works.
You’re good to go if the controller turns on. If not, look at the troubleshooting section.
Troubleshooting
Sometimes things do not work. Here are some tips:
- Ensure your controller is charged up.
- Restart your PC and controller.
- Check for Windows updates. Install them if needed.
- Check for Bluetooth driver updates. Install them if needed.
- Use a different USB port or cable.
- Ensure that Steam is completely updated and installed on your computer.
Frequently Asked Questions
How Can I Hook Up My Switch Pro Controller To My Pc?
To connect your Switch Pro Controller to a PC, you can use a USB-C cable or pair Bluetooth.
Is It Possible To Use Switch Pro Controller On Steam?
Yes, the Switch Pro Controller is supported by Steam. Enable it through the controller settings in Steam.
Do I Need Drivers For My Switch Pro Controller On PC?
Actually, the drivers for Switch Pro Controller is managed by Windows and Steam, not Dinput.
Can You Use a Switch Pro Controller on Windows 10?
Yes, Switch Pro Controller works with Windows 10 either wired using USB or wirelessly over Bluetooth.
Conclusion
You’re good to go Now you should see how to Connect Switch Pro Controller To PC. It is compatible with a variety of games. Enjoy your gaming. Have fun!